For everyone
A card terminal at your till: card payments at the desk
Linking a card terminal to your till: the amount appears on the terminal by itself, tickets only exist once paid, and your Z report adds up.
· 5 min read
Sunday afternoon at the front desk of a small museum. A family wants four tickets, and the father already has his bank card in hand. The staff member rings up the amount on the till, types the same amount again on the card terminal next to it, and misses a digit. The card is charged 4.20 instead of 42. At the end of the day the cash doesn't add up, and nobody remembers which payment belonged to which sale.
A card terminal linked to your till solves that: the till sends the amount to the terminal itself, and sees for itself when the payment went through. This article explains how that works, which terminal you need, and what to do with the terminal you already own.
What changes when the terminal is linked to the till?
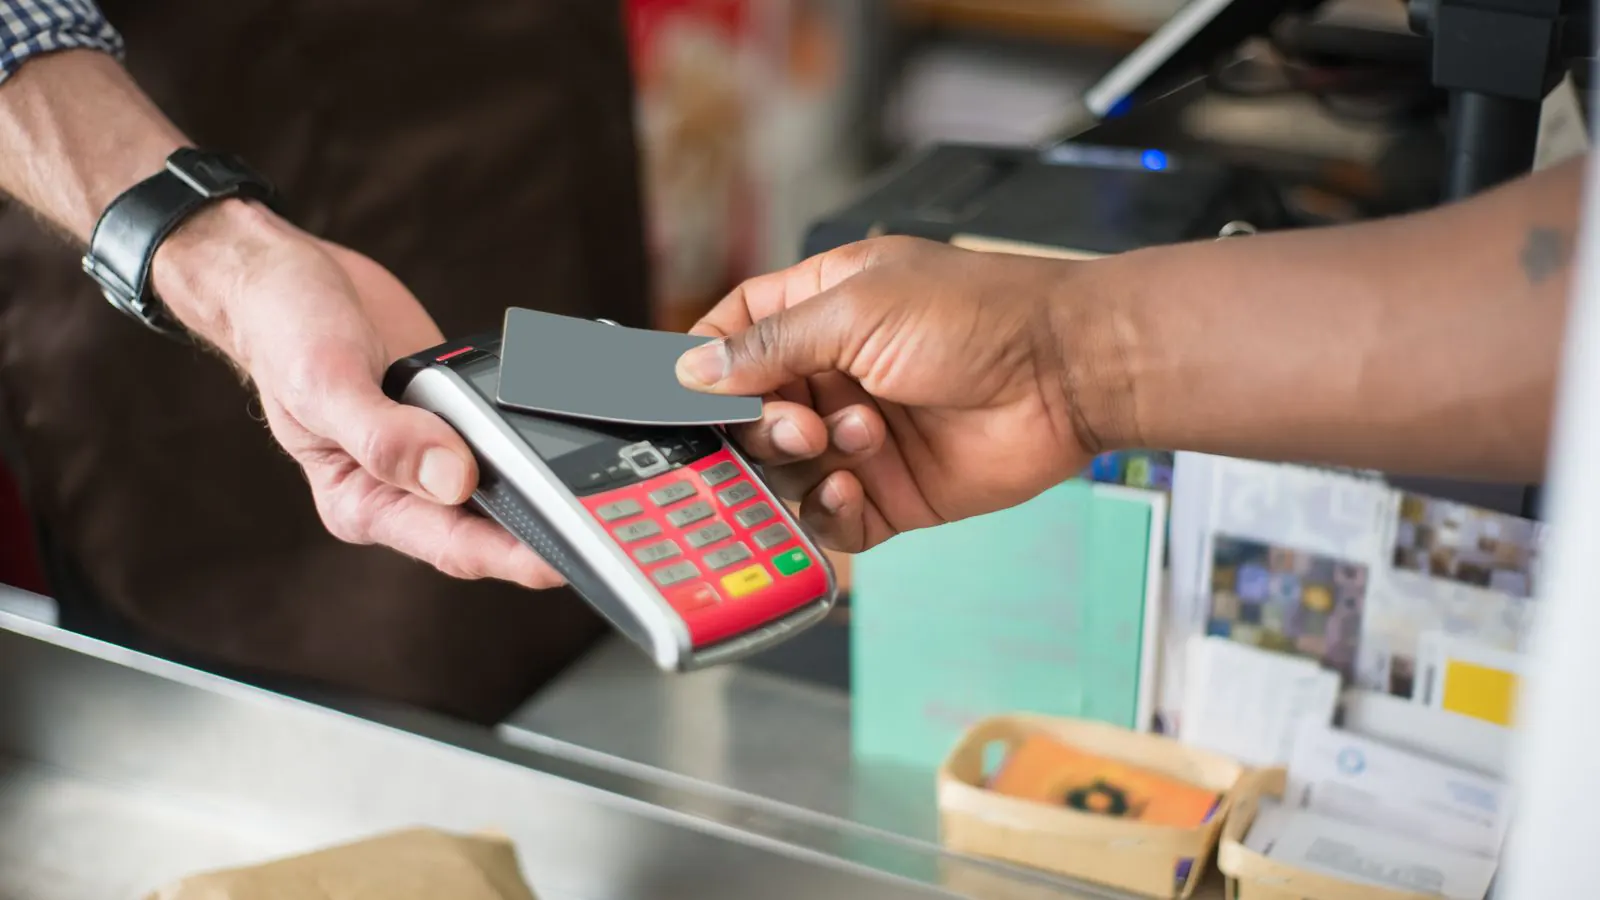
With the Passavo counter till, running on an ordinary tablet or laptop, you choose Card at checkout. The amount appears straight away on the card terminal next to the till. Your visitor taps their card, phone or watch, and the till waits until the terminal reports "paid". Only then does it create the tickets.
What that means at the desk:
- nobody retypes an amount, so no 4.20 instead of 42;
- no ticket without money: if the card is declined, the basket stays and nothing has been sold;
- a Z report that adds up: at the end of the day, revenue is split by payment method, cash and card each on their own line;
- refunds go back to the card: if you reverse a card sale, the money goes back to the visitor's card, not out of your cash drawer.
For how a card terminal works in general, see the glossary entry card terminal.
Which card terminals work with the till?
The till talks directly to three kinds of terminal:
| Terminal | Which devices | What you need |
|---|---|---|
| Mollie | The terminals Mollie sells itself | An active Mollie connection |
| Stripe | Stripe Reader S700, S710 (with 4G) and BBPOS WisePOS E | An active Stripe connection |
| Worldline | Android terminals with the Terminal API app, such as the Saturn 1000 and the S1U2 | Terminal API Cloud, requested from Worldline |
Which one should you pick? Usually the one from the provider you already use for your ticket shop. A Mollie terminal charges in euros. A Stripe reader charges in the currency of your Stripe account's country, so in dollars, pounds or yen too. At Stripe, buy a reader that connects to the internet by itself: a Bluetooth reader does not work with the till.
You buy or order the terminal from your payment provider or your bank, not from us. Prices and delivery times are shown in their own dashboard, so don't count on a terminal that still has to be shipped for an event next week. If you still have to choose, read which payment provider do you choose? first.
And the terminal you already have?
Many organisations already have a terminal from their bank, for example a Worldline Yomani. You can't link it, but you can still use it.
The owner switches on the Card (standalone terminal) button under Settings → Payments. At the till you tap it, and the till shows the amount in large digits. You type it on your own terminal, and as soon as it shows "approved", you tap The terminal shows approved. Only then does the till create the tickets.
You still retype the amount, but the sale is recorded as a card payment in the Z report, on its own line, separate from cash. Your accountant matches that line against your terminal statement. That way the till works with any card terminal.
Linking a terminal in four steps
- Create a counter device under Point of sale → Devices.
- Switch the terminal on and connect it to your Wi-Fi (or a cable).
- On the counter device, click Link a terminal and choose your payment provider. You pick a Mollie terminal from the list, register a Stripe reader with the three words on its screen, and a Worldline terminal with the details Worldline sends you.
- Click Pair and make a first sale.
Each counter device has its own terminal. With two tills side by side, each device gets one, and every amount lands on the right terminal. The full walkthrough, including what to do when a reader is offline, is in Linking a payment terminal.
An example: the museum and the evening door
The museum sells tickets online with time slots, but on Sundays half of the visitors turn up without one. Adults pay 12 euros, children 6 euros.
- At the front desk there's a tablet with the till and a Stripe reader next to it. The family from earlier pays 36 euros by card. The reader shows the amount, the father taps his phone, and the till creates the four tickets.
- For the Thursday evening lecture, the museum puts a second device at the entrance of the hall, with the bank's old terminal as a standalone terminal.
- At closing time, the staff member closes each till. The Z reports show cash, card via the reader and card via the standalone terminal separately. The drawer adds up, and the rest is in the bank account.
Want payments through a banking app as well, without a terminal? Read Payconiq for associations: the QR code appears on the till screen, next to the card button.
What it costs
The fee per card payment is charged by your provider, at its own rates. Passavo adds nothing on top: no amount per ticket and no percentage of your revenue. The counter till, including the link to your terminal, is part of every paid plan from Start, at €9.00 per month. Everything side by side is on the pricing page. How a full day at the till runs, from opening to closing, is in The counter till.